
We may earn money or products from the companies mentioned in this post.
This past month has been fun in our household because I decided to throw in a little homeschool activity that would require fun, but also seeing science/nature do their thing. I am talking about growing caterpillars until they become beautiful butterflies!
My daughter loves butterflies, so I thought it would be neat for her to see the process of the butterfly such as going from the caterpillar to chrysalis to finally…the butterfly. When I thought of this activity, I remembered when I was in Elementary school that my class used to do the same thing, so I called up my mom, who is a Kindergarten teacher, and asked her about how I can go about getting that for her. She told me that the product is called Insect Lore: Growing Butterfly Kit.
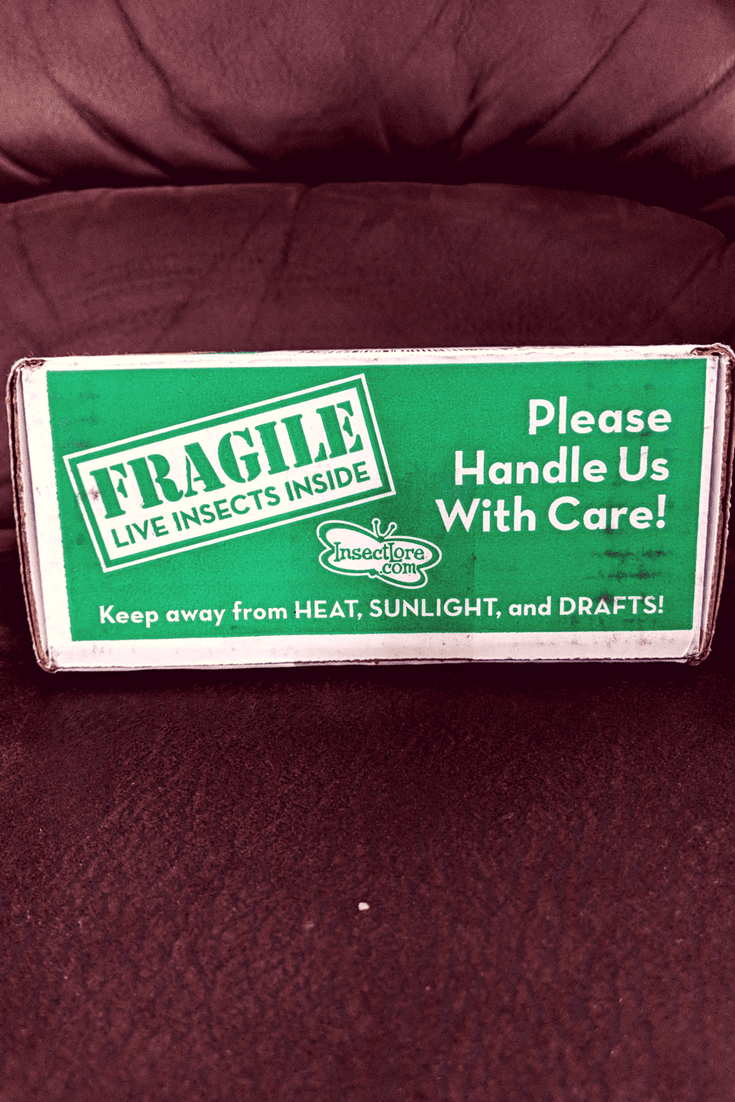
It cost about $20 and it comes with everything that you need except for the caterpillars, but you will get a voucher to order them. You can find it here, just click on the image below:
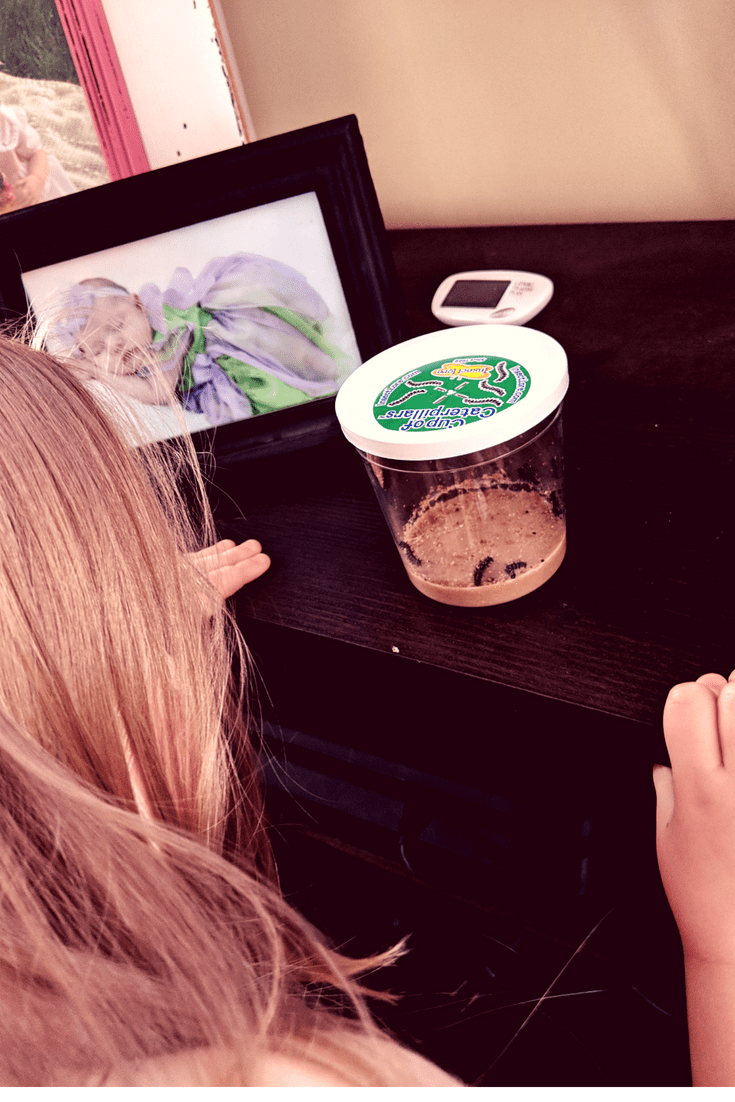
I will say that if you have a child that loves butterflies, then they will beg you to see the butterflies, but the other great aspect of this kit is that this also teaches children to be patient. This is what my daughter learned and it was so neat to see that she was becoming more and more patient while watching this process. So, the first thing is that when you get your kit, that you order your caterpillars. It was super simple and easy. Then, once you get your caterpillars, you just open the box (very quickly once you receive it) and put them in a place where there is no direct sunlight or drafts. They will be very small, but in a week, they will be big. The other big perk to the kit is that the caterpillars come in a cup with a lid on top and you don’t have to feed them because their food is in the cup.


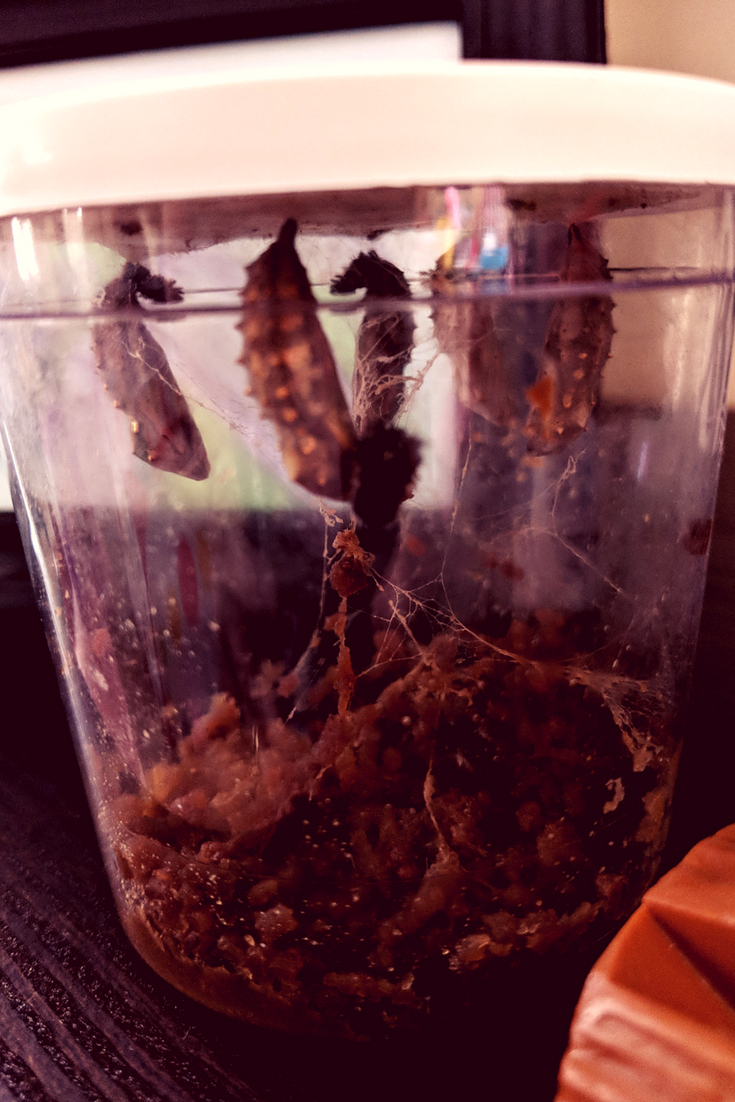
Once they are big and strong enough, they will start to become very active and crawl to the top of the lid. This will all be explained in the little instruction handout that you can find in the kit. But once your caterpillars crawl to the top, then they will start their chrysalis process. This is very neat to see especially for a child. My daughter could not keep her eyes off of them. This is also the start of the homeschool where you can explain what is happening, why it is happening, and/or you can ask them what do they see.

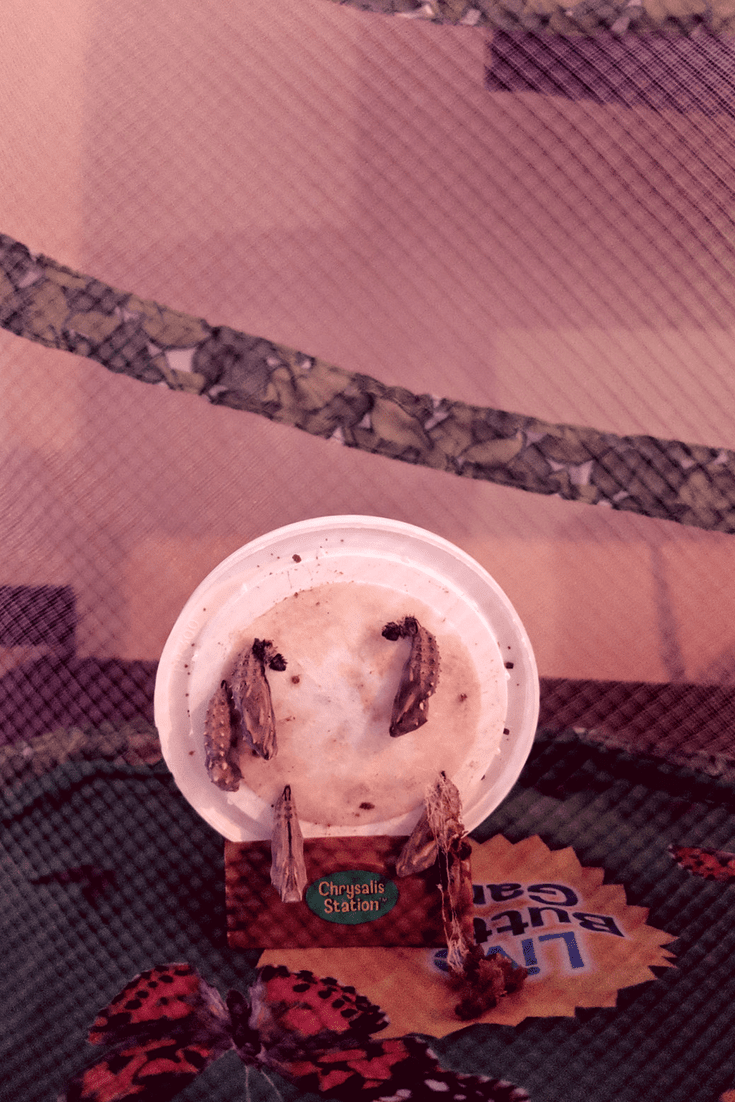
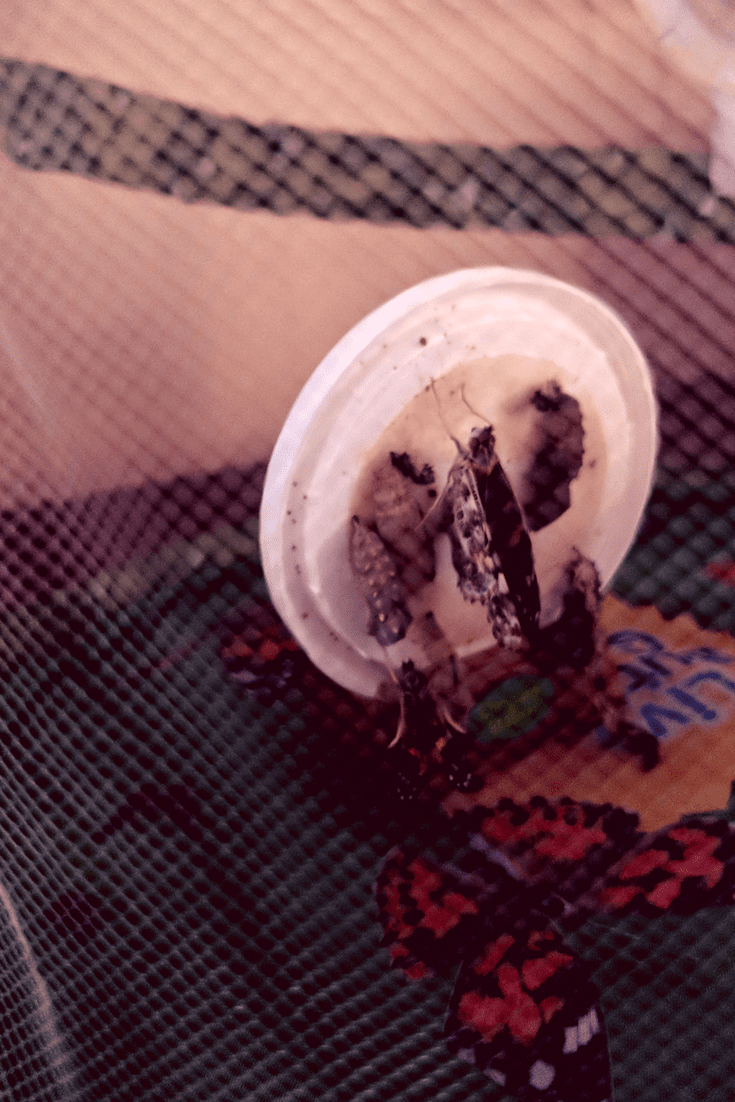
The next part is the boring part, which is waiting for them to come out of their cocoons and see the awaited butterflies. This can take up to a week to a week and a half. For us, it took a week and a half, but they all came out and they were beautiful. My daughter got to watch at least 2-3 of them actually pushing themselves out of their cocoons and she was elated with excitement. It was so amazing to see her eyes grow big and she was proud of herself for being so patient (which is a mom win!). Even for me, it was a pretty cool thing to see and experience. Once the butterflies have come out, this will be the time that you need to feed them. They usually sell a butterfly feeding flower, but I didn’t get it, so I had to get creative.
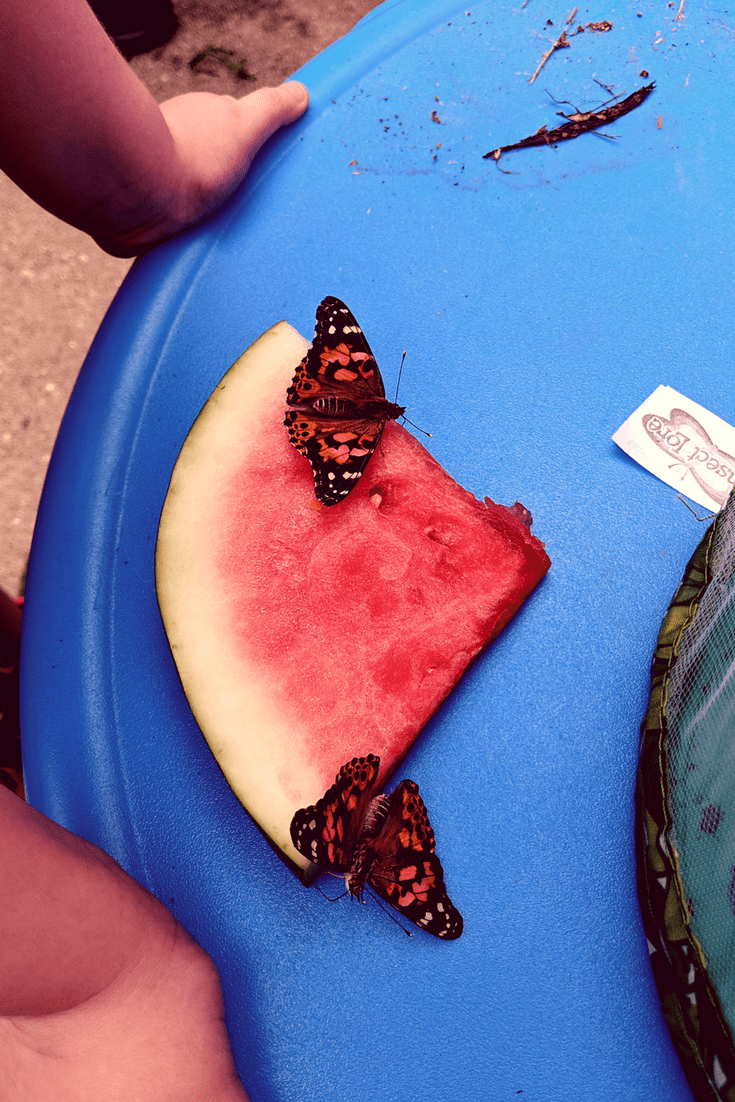
I made our own butterfly feeding flower by just hot gluing some gauze to the bottom of a paper bowl (cut out the bottom of the bowl). Your little one can also help with this as well. Mine did and she was so proud that she got to do something for her butterflies. The two things that you can feed your caterpillars is sugar water and rotten fruit (but we used fresh watermelon, which they loved!).

Now, don’t worry if at first they are just sitting there doing nothing, I was worried, but I shouldn’t have been because in a day or two, ours became very active and flying all over their habitat. So, here comes the hard part, which is getting them ready for release day. In the instruction manual, it says that you need to release your butterflies 3 to 5 days after they come out of their cocoons.
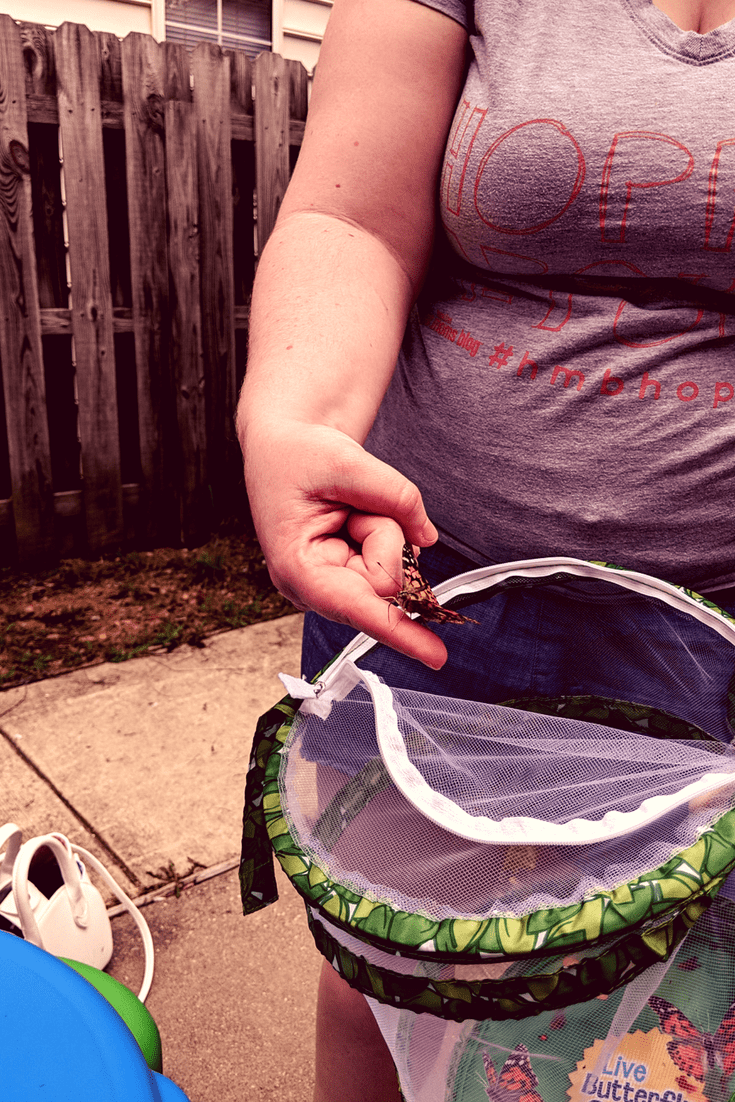
And this is what I mean about hard part, the hard part is telling your child that you need to release them. The day that we released them, my daughter was so happy because she thought that she could take her butterflies everywhere with her, but that wasn’t the case. My husband and I had to talk to her about needing to release them, so that way they can find their new home to start their own families. Of course, our daughter being a toddler, didn’t really grasp the concept, but once she saw one of them fly, she knew that it was time for them to go. She was being brave and I was mostly surprised that she wasn’t crying when they all flew off. However, some butterflies do stick around. A couple of ours did stick around, actually crawled onto our fingers (which was so cool), and flew around our garden for a little bit.

In conclusion to all of this, I can definitely say that this little activity was really amazing! I will definitely do it again because not only does your child get to experience a science/nature event, but there are so many things that you can teach them such as patience, understanding concepts, math (counting the caterpillars/butterflies), and how to process emotions/thinking. It was a really neat kit and a wonderful memory to cherish. I highly recommend this kit if your child loves butterflies, science, or if you want a unique activity to add to your homeschool routine. If you are interested in this kit, then please click on the image in the beginning of this post. I hope you enjoyed reading and as always, I would appreciate likes, shares, or follows. If you have ever done this activity or looking to do it, then let me know what you thought in the comments. I hope you all have a great weekend and I will see you in the next post!

